Physics in GameMaker
The following is an introduction demo of how physics can work in Game Maker Studio 2. It will give you an introduction of how you could implement it in your game.
Step 1: Create Sprites for Physics Objects
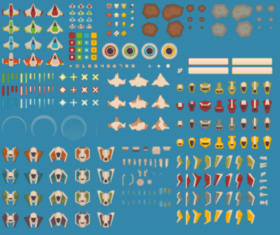
The sprites you need for this demo can be downloaded from here –
Here are the physics room sprites saved to a zip folder
- Download the sprites, extract the zip folder and create each individual sprite over on the Asset Browser Resources menu

Name the sprites appropriately – see above image- Set each origin point for these sprites to Middle Centre

Step 2: Create Parent objects
- Create two objects, but don’t associate them with any sprites.
Name the 1st object objStaticParent and the 2nd object objDynamicParent - Add 2 collision events to objStaticParent – a collision event with objDynamicParent and a collision event with itself – see below
Add 2 collision events to objectDynamicParent – a collision with itself and a collision with objStaticParent. - There is no code needed on these collision events
- Add an Outside Room event and in the code editor type the function (see below screenshot) :
instance_destroy();

Step 3: Create physics objects
- Create 3 objects – objPhysicsSquare, objPhysicsCircle and objPhysicsTriangle and associate them with their relevant sprites.
- On each of these objects, check the box Uses Physics
- Click the Parent box of each of these objects and associate them with objDynamicParent, as these are going to be your dynamic objects – see below for screenshot

- Create another object called objPhysicsFloor, associate it with the red square sprite.
- Ensure you check the Uses Physics box
- On objPhysicsFloor the associate the Parent option with objStaticParent
Step 4: Set the physics properties of each object
- Open objPhysicsCircle, click on the Physics button in its window
- Change the Density to 0.1 and the Restitution to 0.8 – this is to make it lighter

- Under these properties, click Modify Collision Shape and change the shape to a circle in the top left of this window

- Open your triangle object and click Physics and Modify the Collision Shape for it.
- Change the shape to a Convex Shape
- Click on each corner of the triangle to add three points to it. You should only see 3 sets of points in the X & Y co-ordinates under Convex Shape

- Open the physics properties for objPhysicsSquare and make sure the collision shape is box and has 4 points
- Open objPhysicsFloor and in its Physics properties change its Density to 0.
- Modify it collision shape and change it to a convex shape and click on the four corners of it to give it 4 points.
You might also have to do this with objPhysicsSquare, but test first.
Step 5: Create a Control object to generate the physics objects
- Create an object called objControl
- Add an Alarm 0 event to it, there is no code needed for it.
- Add a Step – Step event and add this code to the Step events code window:
 /// @description Generate physics objects

if (mouse_check_button(mb_left) && (alarm[0] < 0))

{

instance_create_layer(mouse_x, mouse_y, layer, choose(objPhysicsSquare, objPhysicsCircle, objPhysicsTriangle));

alarm[0] = 5; //just creates a pause so you cannot hold down the mouse

}
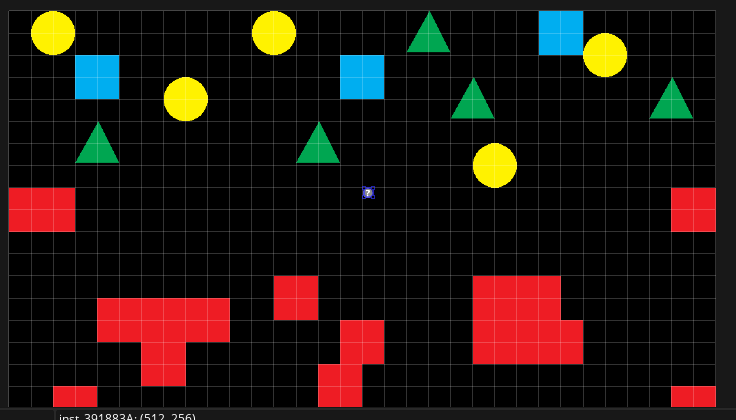
Step 6: Create a blank room
- From the Resources menu, right click on Rooms and click Create Room
- Give the room the name PhysicsRoom
- On the left side, under Properties, Room Physics, check Enable Physics

- You can play with the gravity settings and see what different effects they will have
- Next, add some red objPhysicsFloor objects onto the Instances layer to the bottom of the room, and randomly around the room.
- Above these, add the objPhysicsSquare, objPhysicsCircle and objPhysicsTriangle objects
- Add objControl control into the room also
To test your room, make sure it’s dragged to the top of your rooms list, then run the game